This guide helps you to get started with the Rdot display with an Arduino Uno microcontroller. The Rdot displays and the Rdot Arduino Shield can be ordered from rdotdisplays.com. Follow the simple steps below and you'll be up and running in minutes.
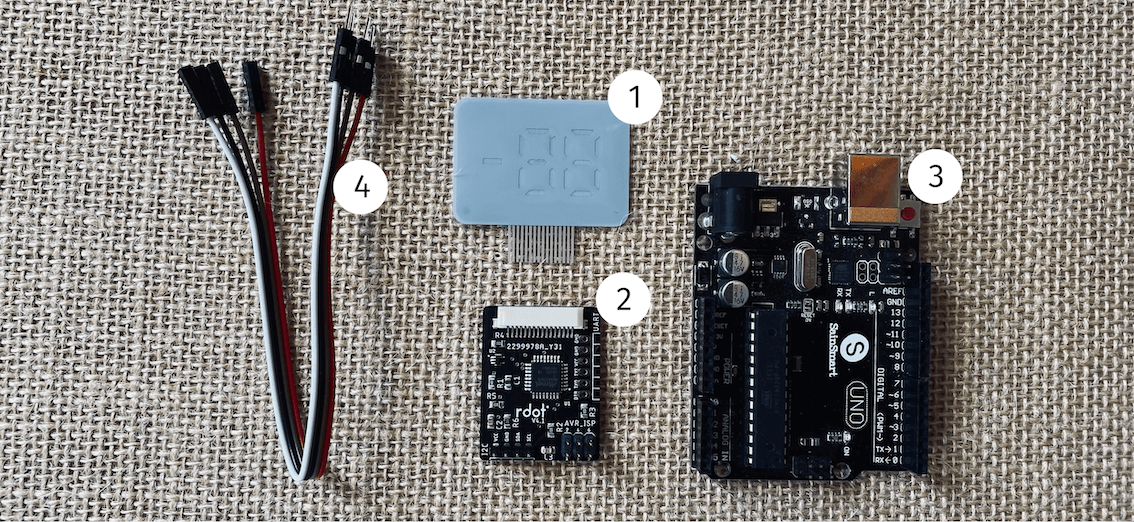
Required Hardware
- Arduino UNO with USB-cable
- Rdot 7-segment display (or another design if you prefer)
- Rdot ECD driver Sheild V2.2 for Arduino UNO
Required Software
- Arduino IDE (download here)
- Arduino Library for the Rdot display, RDOT_ECD 2.0 (download here)
Connecting the components
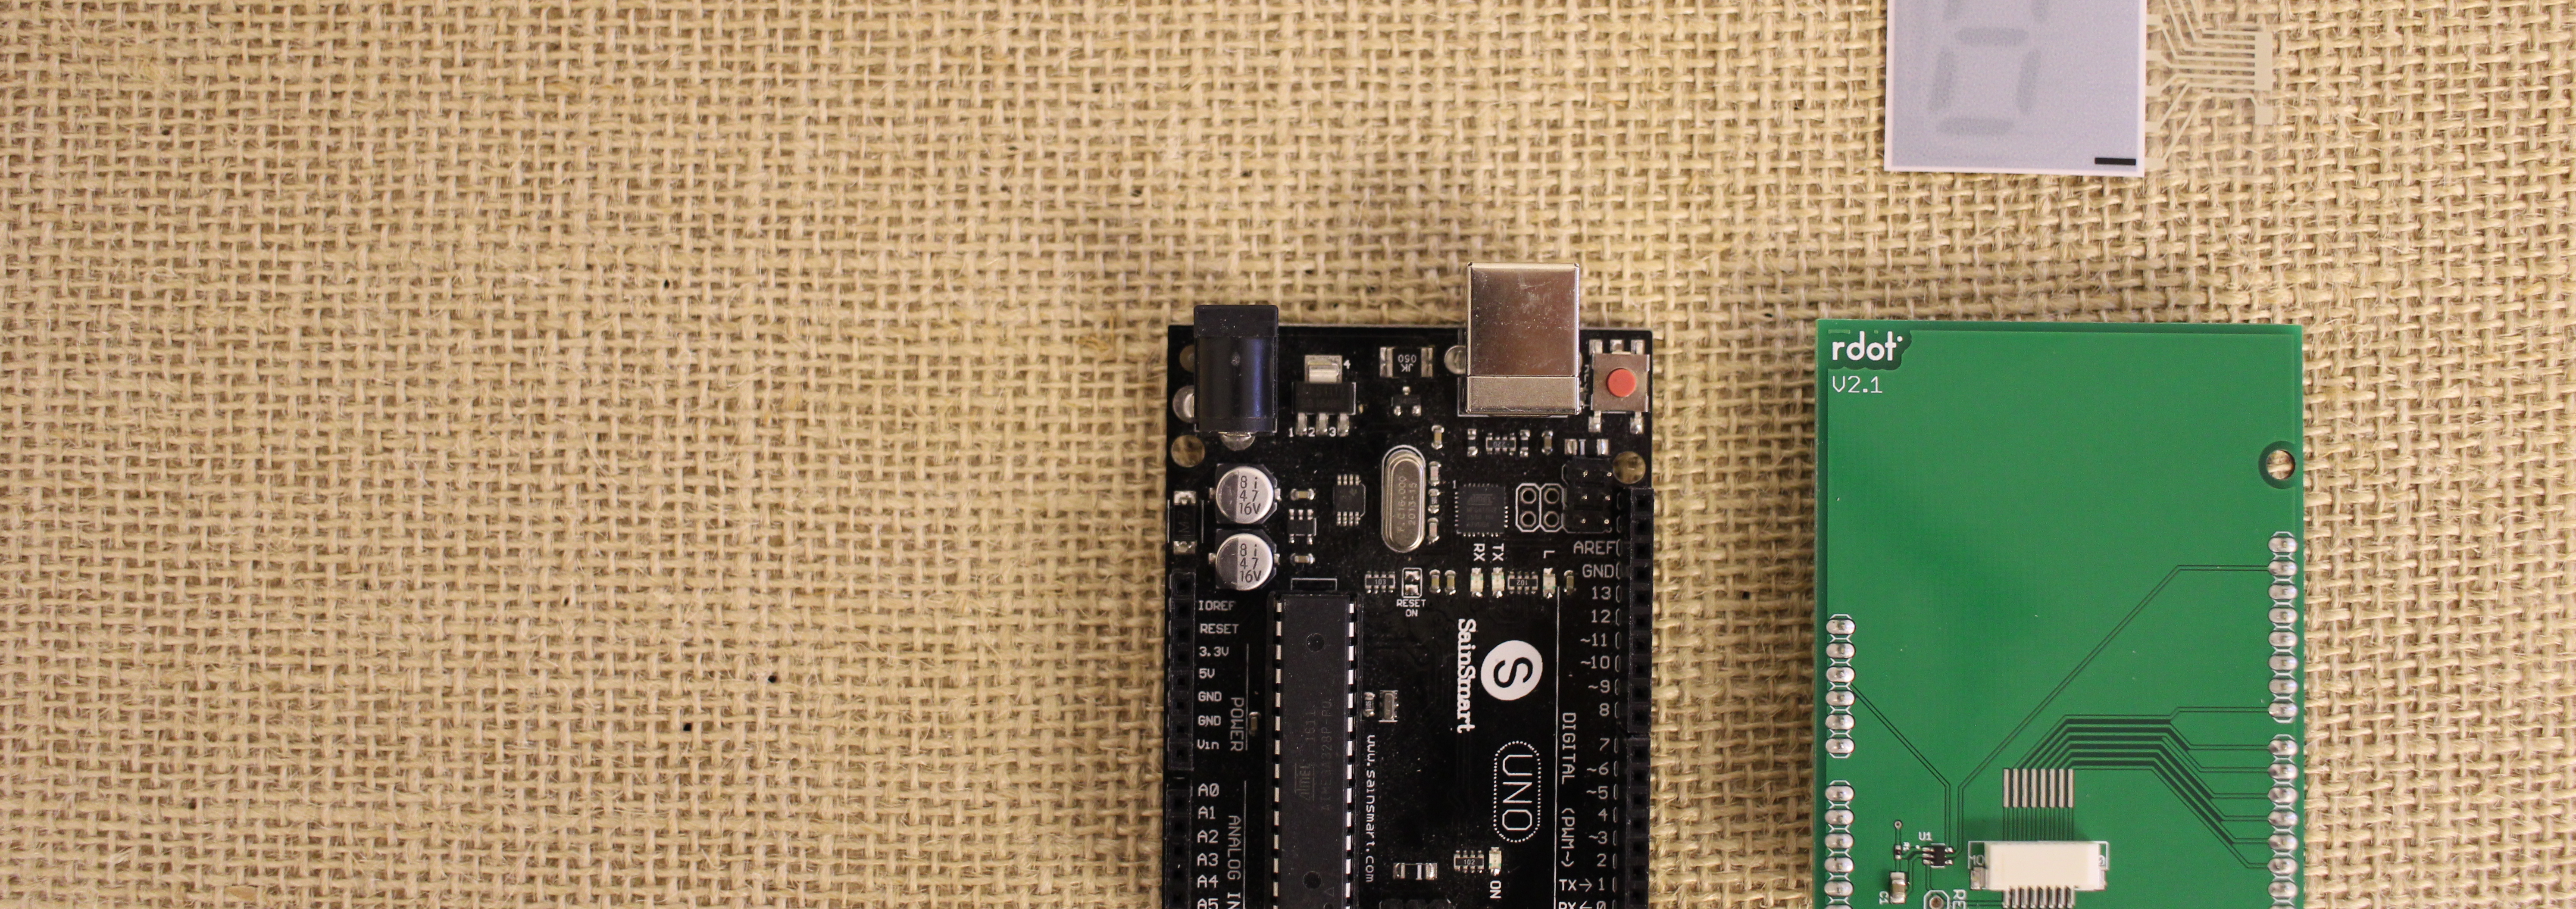
- Attach the shield to the Arduino
- Insert the display into the connector on the ECD driver shield and make sure that the display electrodes are well aligned with the connector electrodes. The leftmost display electrode must be connected to the leftmost electrode in the connector.
Add the library to the Arduino IDE
- Install and open Arduino IDE
- Click "Sketch"/"Include Library"/"Add .ZIP Library..." in the main menu
- Go to your downloads folder and choose RDOT_ECD_2.0.zip
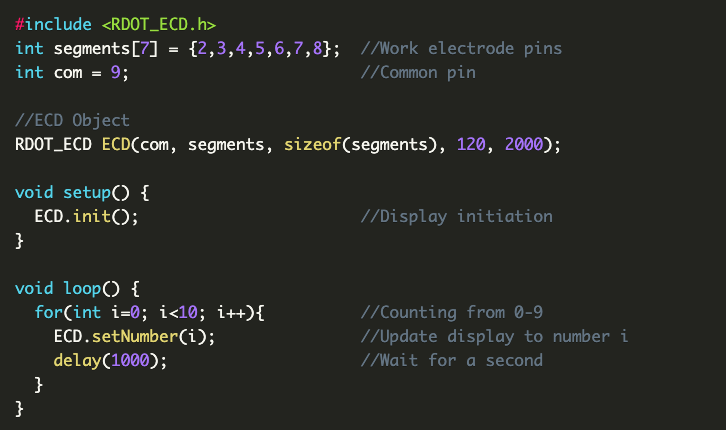
Upload your first code
- Connect the Arduino to your computer with the USB cable
- Create a new file in the Arduino IDE
- Copy this code and replace the code in the new file with the following code:
#include <RDOT_ECD_2.0.h>
//Work electrode pins
int segments[15] = {A3,A2,A1,A0,13,12,11,10,8,7,6,5,4,3,2};

//Common pin
int com = 9;

//Number of segments on the display you are using
int segment_count = 7;

//ECD Object
RDOT_ECD ECD(com, segments, segment_count, 120, 3000);

void setup() {
  ECD.init();                       //Display initiation
}

void loop() {
  for(int i=0; i<10; i++){          //Counting from 0-9
    ECD.setNumber1x7(i);            //Update display to number i
    delay(1000);                    //Wait for a second
  }
}
- Click upload (the right arrow on the upper left in the Arduino IDE)
- Congratulations! Your display should now count from 0-9.
For more information about the Arduino library, read the documentation here.